Wednesday, February 27, 2013

Chicken Pot Pie

Hey y'all, hope you didn't miss me too much yesterday! I lacked blogspiration, so I figured I'd skip it. Plus, I had to go to the dentist, and that threw a cramp in my day. At any rate, I'm back today, and I'm bringing you my recipe for "slap your momma good" chicken pot pie. It's super tasty, relatively healthy, and pretty easy to make. I also remembered to take pictures of the WHOLE process, so be prepared for photo overload- sorry if any are blurry, but I have the world's shakiest hands - this is why I'm not a brain surgeon! Let's dive right in!

Cast:
1-2 pound package of boneless, skinless chicken thighs
1 bag of frozen mixed vegetables (at least 12 oz)
1/3 cup frozen chopped onion (or fresh chopped onion)
1/3 cup of butter
1/3 cup of flour
2 1/4 cups of chicken broth
1/2 cup of milk
1-2 cloves of minced garlic
Salt, pepper, Greek seasoning
Puff pastry shells (or sheets)

What You're Gonna Do:
1) Bake the puff pastry shells according to directions on package while you do the rest of this. (See notes at the end for directions with puff pastry sheets)

These were actually cheaper than the sheets.

This is what the shells look like before baking.

 
During baking....

Almost done...

Finished baking....

Removing the tops...

Pulling out the centers...

Finished...


2) Chop up the raw chicken into 1/2 inch cubes - these don't have to be perfect. Remove any thick pieces of fat, but a little bit should be left - it gives it what Homegirl calls "the fravor."

Choppity chop....

Fat that should be removed...

Fat you can leave for "the fravor"

3) Salt and pepper the meat pretty generously.

Peppering action!

Salt...thrilling, I know!

4) Heat a couple pan-turns of olive oil over medium-high heat in a decent sized pan (you want a semi-deep one), then add the chicken. Throw in a little minced garlic and cook until the chicken is done through. Remove from pan and drain off the excess oil. Set aside.

Oil....
 

Chicken....

Cooked and drained chicken.

5) DO NOT clean the pan - again, "the fravor." Put 1/3 cup of butter (yes, I know that's a lot - I'm not sorry) into the pan and melt over medium heat. Throw in some more garlic if you're feeling it. Add the onion and cook for 2-4 minutes, or until it's soft.

Ooooh, baby!

Not. Sorry.

YUM!
 
Laziness...

 
Your 1/3 cup can be heaping - a little extra onion never hurts.

Garlic makes everything better.

6) Add the flour, some salt, pepper, and Greek seasoning (optional, but I like it), and stir until combined. This will get almost paste-like.

You need all-purpose flour, which is what most people have anyway.
 
I like to have these at the ready for these next steps - things start to happen quickly.

Stir stir stir....

Kinda pasty - this is correct.

7) Add the chicken broth and milk (I measure them in the same cup so they are already mixed together) a few ounces at a time. Keep on stirring. This will start to take on a more gravy-like consistency.

You don't have to use fat free - it's ok.

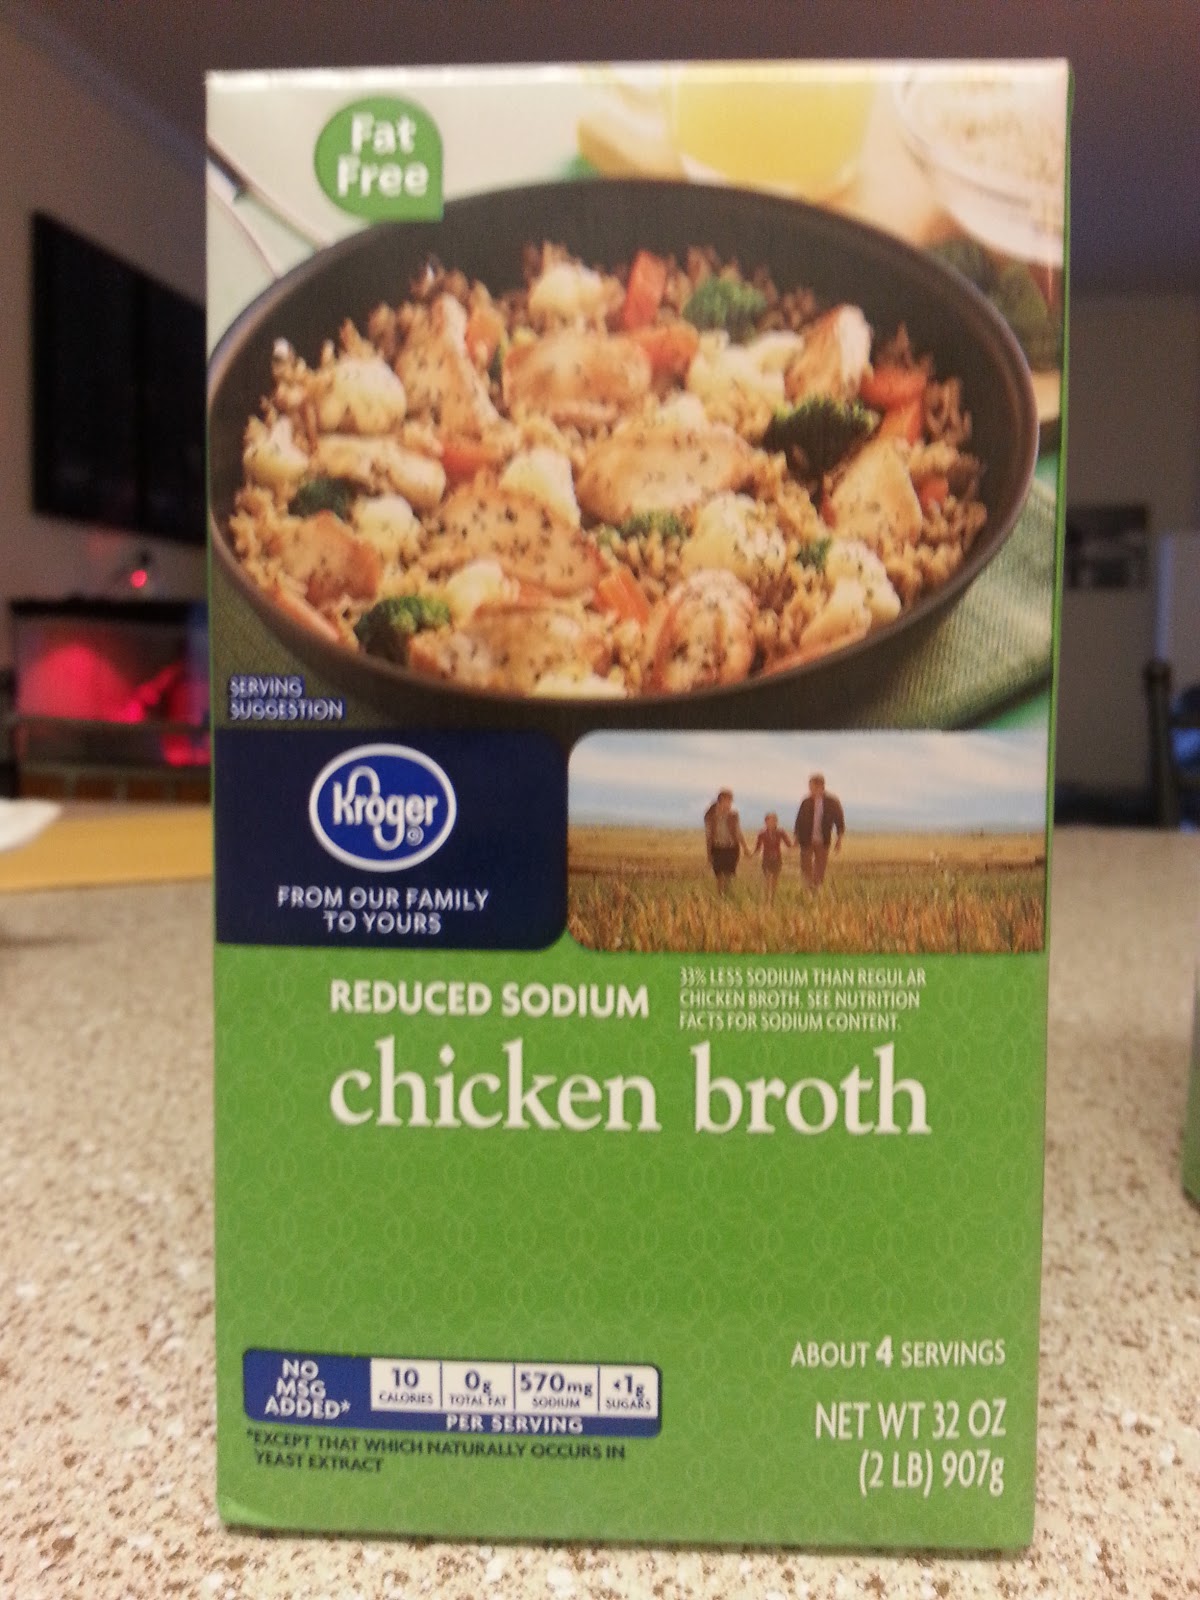
Regular broth is ok, too.

Stir stir stir....

There we go!

8) Once you have added all the milk and broth, add the frozen veggies, stir, and cover. Let this cook for 5-8 minutes, until the veggies are warmed throughout. Stir occasionally to prevent sticking.

More laziness...

YUM - I added lima beans 'cause I like 'em and I had 'em.

Cover it up.

9) Add the chicken and recover, cooking another 3-5 minutes. If your sauce is getting too thick, add a little more chicken broth and stir.

Almost to Tasty Town...

10) Once the chicken is fully reheated in the sauce, remove from heat.

Finished filling.

11) Place 2 puff pastry shells on each plate and spoon in chicken filling. It should overflow, and I like to put extra all around the plate.

I made my Super Sweet Man stop eating so I could take this picture...he thinks I'm nuts.

12) Enjoy!

Notes:
- If you want to make this with puff pastry sheets instead of cups, use a muffin tin. Cut the sheets into squares large enough to fill the tin and fold over. Prepare filling the same way, then spoon over uncooked pastry in the muffin pan, fold the edges over the top of the filling, then bake at 425 until the pastry is lightly browned.

-You can easily make this vegetarian by nixing the chicken, adding more veggies, and using vegetable broth. You CANNOT make this vegan 'cause it would no longer be tasty - don't argue with me.

-You could use chicken breast meat if you prefer, but thighs are usually cheaper and have more of "the fravor."

-Puff pastry cups will keep well after baking in a bag or tupperware on the counter for up to 2 days. You can re-heat/crisp them in the oven for a couple minutes before serving. The filling will keep in the fridge for 3-5 days.

-This recipe can have as much or as little salt as you like. I use the reduced sodium broth and try to keep my salting under control - you can always salt the pie when you eat it if there's not enough.

-Just trust me on the butter. At least I used fat-free milk?

This makes a great cold-night meal and only takes about 30 minutes start to finish. There's plenty of room for interpretation, so you are unlikely to screw this up. You can also take this to someone easily - make everything separately, then deliver. Great for a sick friend or someone with a new baby.

Happy cooking!

Monday, February 25, 2013

So You Have A Temper?

Good Monday afternoon! This weekend, I had a couple of situations that really tried my patience and tested the control I have over my temper. Being a Southern lady typically calls for a firm grip on your temper and never letting it get out of control. Unfortuantely, Quvenzhane Wallis isn't the only Beast of the Southern Wild - this Georgia gal has a heck of a short fuse, and I tend to get nuclear pretty quickly. However, it only took a few times (read: decades) to understand that blowing up at folks isn't exactly the way to win friends and influence people. As such, today I want to talk about my techniques for keeping my cool, even when I want to melt down into a pool of rage.

Things to avoid: THIS.

1) Triggers
One of the first steps to controlling your temper is knowing what sets it off. Take a good look at situations that have made you really angry or upset - can you find a common thread? For me, there a few different triggers: disappointment, feeling under-appreciated, being controlled or told what to do, and being ignored. Any of these can SET. ME. OFF. For example, this weekend's horse show. I won my first class (woohoo!), but came in 3rd in the second class. Normally, 3rd is pretty good. However, after 6 straight 1st place ribbons, 3rd was more than a little disappointing. I was mad at myself. I was heavily disappointed. This is not a good combination for me, and could have become a serious trigger.

Me, around 1:45 on Sunday.
 
This leads us to...

2) Know The Reaction - Part One
A huge part of controlling your reaction to triggers is knowing how you react internally. Think again about an upsetting situation and try to put together a picture of your gut reaction, step by step. Going back to this weekend, my first feeling was sadness. I was upset that I didn't win. Next, I went to frustration. I was frustrated because I made a couple of "easy-fix" errors in my ride that probably cost me the class. Thirdly, I got angry at the situation. I was angry that I didn't draw an easier horse to ride and angry that my winning streak got broken. Finally, I got annoyed. I was partially annoyed with the whole situation of not winning and annoyed at myself for being annoyed.

Joffrey Baratheon is a total punk, but he feels my pain.
 
What happened next....

3) Know The Reaction - Part Two
The second part of controlling the reaction is knowing your outward reaction. Y'all, I have NO poker face. People know when I am upset. So in this situation, I was not going to be able to hide my disappointment. HOWEVER, until I learned to wrangle myself, my exterior reaction would have been one or more of the following: crying, saying ugly things to other people, yelling, throwing things, etc. Essentially having a temper tantrum. Not cute on toddlers, REALLY not cute on 24-year-olds. And CERTAINLY not lady-like. Instead, I tried to explain my disappointment to my coach and my teammates. When I felt like any of them didn't get it or I wasn't getting the kind of response and support I needed, I walked away. While this may upset some folks, believe me, it's better than what they could have gotten. I waited until Homegirl and I were in the car, then she let me talk through it and sort out what I was feeling, which helped immensely. I still grumped along for about 30 more minutes (okay, 2 hours), but eventually, we got to "what Gillian needs to do to be successful at regionals."

Good anger management.
 
However, I had grouched at my coach a little, so...

4) Be Ready To Explain
Y'all, sometimes people just won't get why you are upset, or they won't understand it fully. This happened. I felt like my coach just thought I was mad I didn't win, which was partially true, but I also wanted her to understand that I was nervous because it shook my confidence, that I was disappointed because I felt like the good parts of my ride went unnoticed, that I was mad at myself for making what I consider a rookie error. I grouched because I felt like she didn't want me to be disappointed, but disappointment is how I get better. So since she had other riders to coach, I just left. I did, however, text her and apologize for grouching and quickly explained where my head was. I plan to finish this explanation when I lesson this week. It's okay to react. It will happen. Just be ready to explain what's going on. Only you know, kids, and your loved ones deserve an explanation when you can calmly give one.

This, but calmer.
 
Finally....

5) Learn From It
This is two-fold for me. First, learn what you can do better on your end next time. For me, I learned from my ride what I need to focus on going into regionals. This is super important, and can be applied in any situation. Secondly, if you got mad in a situation, figure out how to avoid that situation in the future or, if it is unavoidable, how to handle it better. Maybe it's the way your boyfriend phrases something; tell him why it upset you and that you'd prefer he said it another way. If it happens again, reiterate it to him, but don't go red zone on him for doing it again. We're all human, and he probably forgot. If he keeps doing it and doesn't care, dump the jerk, obviously. My goal is to handle disappointment better by focusing solely on the good parts. In this case, I would focus on the fact that I got my horse to lope with his head down (he looked like a giraffe for some other people), that my 270 degree pivot on the haunches was awesome, and that I kept a controlled pace. This doesn't mean ignoring what needs to be improved - it just means bringing the positive to the front while the "wound" is fresh, and waiting until you are calm to delve into "what went wrong."

Self-reflection.

I am by no one's estimation perfect at this, and I do occasionally still have melt downs. However, with practice, I have learned to name my feelings, explain them semi-calmly, and ask for what I need. This goes a long way towards making yourself a pleasant person to deal with in any situation. Sure, there are some people who want you to be Mary Sunshine all the time and won't get why you remove yourself from a situation. These people may judge you and decide you're a sore loser, or a whiny baby, or anti-social. That's okay, as long as the only thing they are basing this on is you walking away from an upsetting situation (that's walking away, kids, not stomping). Just make sure you explain yourself at an appropriate time to those you love, and you'll be fine. And have really awesome friends, like Homegirl.

Good friends make everything better!

See y'all tomorrow!

Friday, February 22, 2013

Keeping House 201

Good Friday, y'all! As promised, I'm bringing you a step-by-step tutorial on cleaning your house. Let's dive right in!

Otherwise, this is me, looking at you.

1) Picking Up
The first step to cleaning your house is picking up. See yesterday's post for a definition. Don't go room-by-room and pickup then clean. This takes way too much time and is not efficient. Instead, go through your whole house and pick up every room. Then you have fewer obstacles to clean around.

Yep.

2) The Kitchen
I'm not sure why I start in the kitchen - maybe it's because I really like cleaning my kitchen, or because I keep the cleaning supplies under the sink so proximity wins? For whatever reason, I like starting here.

The first thing I do is SCRUB the almighty out of my sink. Now is also an excellent time to de-stink your sink if necessary. I don't like to use harsh cleaners here...just my regular dish soap and a sponge. Soap the whole thing down and scrub, using the hottest water you can stand on your hands. No, I don't use gloves. Hands wash easier. Wipe the whole thing down after soaping with a wet paper towel - keep rinsing and wiping til it's all clean.

Scrub-a-dub-dub!

Next, we move on to the counters and cooktop. Start on one end of the kitchen and work your way around. You can use spray cleaner or the soapy sponge - when I had granite counters I liked the soapy sponge better, but now I use Greenworks spray. Totally up to you. Just take everything off the counters and wipe those puppies down. It's okay if you get some on the floor - we'll get there. If you have an older cooktop with drip pans, scrub them or run them through the dishwasher while you clean. Wipe down your cooktop the same way you're cleaning your counters, and make sure to clean the instrument panel on it as well - that thing gets grody, too. Same for your microwave and any other small appliances.

Finally, we're gonna clean the floor. I mentioned before about my favorite floor cleaning method. Soak your paper towels in hot water and cleaner, then wring them out individually. I like to rotate them 45 degrees as I stack them so they don't clump together when wet. Get on the floor (you're at least 5 feet off the ground - you cannot see all the dirt from that high up!) and using individual towels for each 1-2 square foot section, wipe the floor, including baseboards and moulding.  Using a clean towel each time ensures maximum sanitation and works wonders to contain pet hair. Plus, unlike a mop, you're throwing the mess away instead of spreading it around.

I love you, Bounty.

See? That wasn't hard. Moving on....

2) Dusting
Dusting is a very important step, obviously, and should be done early. Why, you ask? When you dust, hopefully you're using one of these:
SWIFFER!
 

They trap most dust and hair. However, some of it will fall to the floor, so you don't want to have cleaned the floor yet, right? Thought so. Make sure to clean under and around EVERYTHING and especially your blinds. They hold a lot of dust and hair and can really aggravate your allergies if they aren't cleaned frequently.

Clean clean clean!

This will go really fast if you do it at least weekly.

3) Bathroom
Alright, y'all, I know it can be nasty, but you have gotta get really close to your bathroom to ensure maximum cleanliness.

First step - lights. Not kidding - your light bulbs get all sorts of dust, hairspray, and other products on them. Make sure they are cool to touch, then take a paper towel, spray it with glass cleaner, and wipe off each bulb. Get the top and outside of the fixture, too. Your bathroom will stay well-lit.

Let there be light!

Now we're gonna clean the sink area. I start by stripping everything off the sink and counter so I can see all the surfaces. Spray down your mirror with glass cleaner and wipe down well. Notice how many specks of gross are on it and consider flossing your teeth from a further distance next time. Then spray the counter and sink and scrub those down, too. When you put your things back on the counter, wipe them down as well - toothbrush holder, soap dispenser, etc. They get grody, too.


Next, let's clean the shower/tub. If you get mildew, it's not your fault. Some areas are more prone than others. However, you can kill it easily. Take regular white vinegar and pour or spray it on the mildew - this will kill the organism. Let it sit for a few minutes and then rinse with water. Now use regular bathroom cleaner to wipe away the grime.

EWWWW!

SOLUTION!

Alright, it's toilet time. Start by putting bowl cleaner in so it can sit while you wipe down the rest of the commode. Make sure you wipe down the top of the tank and the lid, then the seat, then the rim. If menfolk use your potty, this won't be pleasant, but it must be done. Now, using a toilet brush or a paper towel, scrub out the inside of the bowl and flush.

Don't get scared now!

Finally, we're gonna clean the floor. Use the same method we used for the kitchen floor, taking extra care to clean around the base of the toilet, since they usually have crannies that attract dust and hair.

4) Vacuuming/Sweeping
Now we're in the home stretch. Before you start cleaning the floor, if your baseboards need cleaning, now is the time. Use your trusty cleaner-soaked Bounty and wipe those puppies off. Now, depending on your flooring, start your engines! Just like with dusting, you cannot be too thorough. I usually move several pieces of furniture to vacuum under them. If your furniture is super-heavy, this may not be an option, but if you're like me (my brother gave me the Indian name Strong Like Ox), you can handle it. Make sure you keep an eye on the dust cup in your vacuum - no matter what the British dude on the Dyson commercials says, they do lose suction as those things fill up.

5) Miscellaneous Tips
If you have any extraneous boxes lying around (I keep boxes for things I buy for a little bit, just in case), chuck them after a month or two. They're just taking up space.

Or you'll have boxes from October and November in your laundry room...

Wipe off your washer and dryer with a damp paper towel every few weeks - they get a very fine coating of lint.

Cleaning day is a great time to clean Fido and Mitten's bowls.

Operation de-funk.

This is also a good time to straighten up your closet.

Photo is blurry, 'cause I got scared.

And of course, you can always light yourself a candle!

Happy Cleaning, y'all!